After you’ve determined your business’s worth, it’s time to create your listing on our marketplace. Here’s a step-by-step process to achieve that.
Step 1: Sign up for a seller account
Begin by creating a seller account, which will grant you access to create listings on our marketplace.
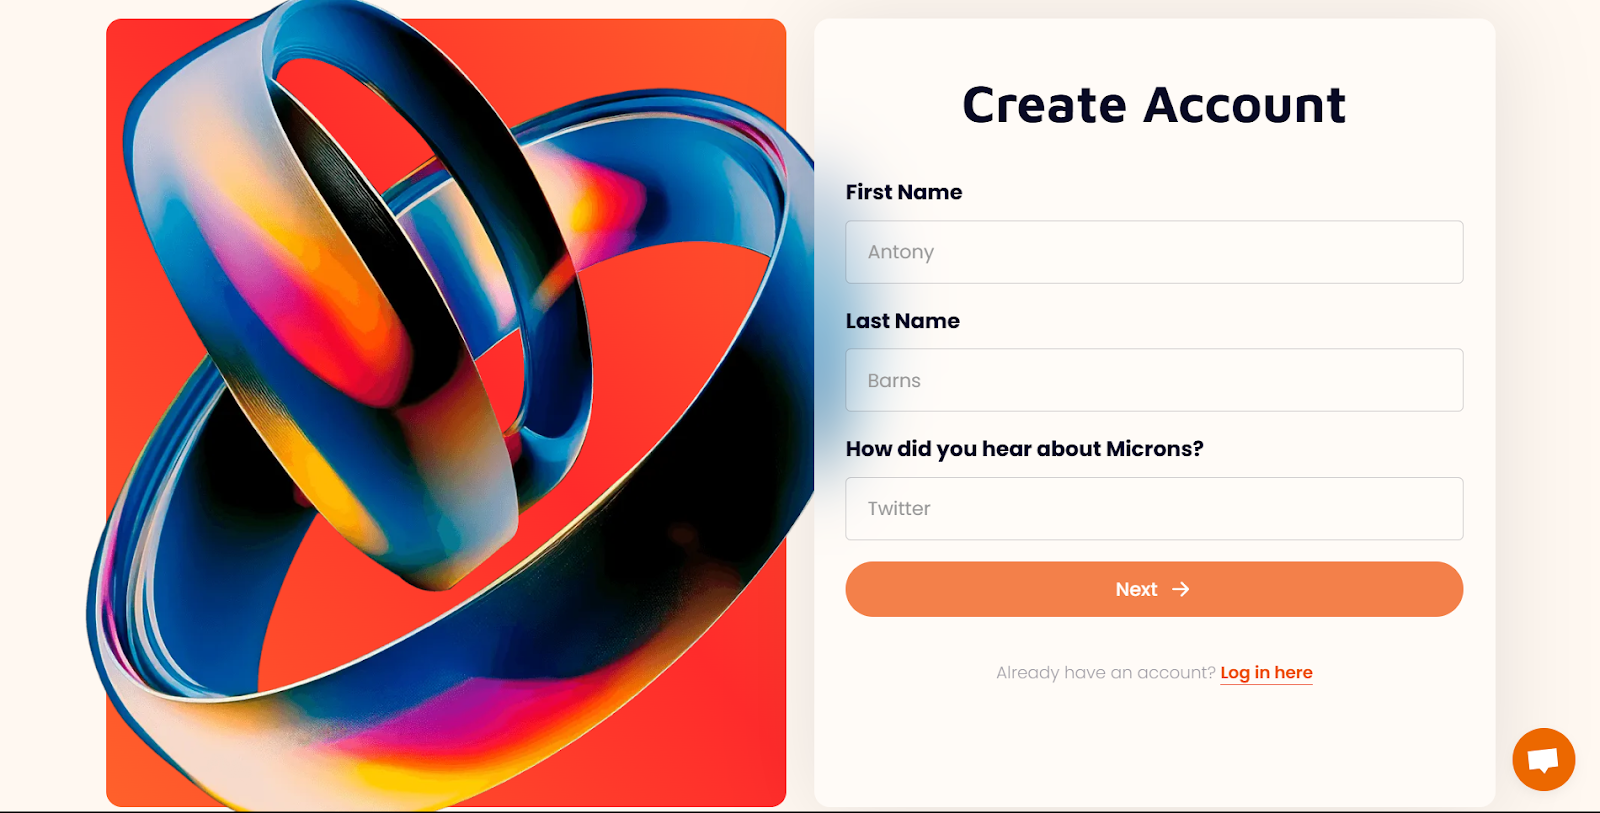
After entering your credentials, you’ll receive a confirmation email requesting that you complete the verification process. Confirm it.
Step 2: Complete your profile
After verifying your email, sign in to your account to complete your profile. Provide all the required information, such as your location, a brief bio about yourself, etc.
More importantly, is your avatar image which should reflect you as a human for potential buyers. Upload a real photograph of yourself; otherwise, your listing will not be approved. Your profile will be visible to premium buyers, so they’re assured there’s a real person behind your project.
Step 3: Fill out the form
Once you’ve completed your profile, click the 'Submit My Startup’ button on your dashboard to begin creating your first listing.
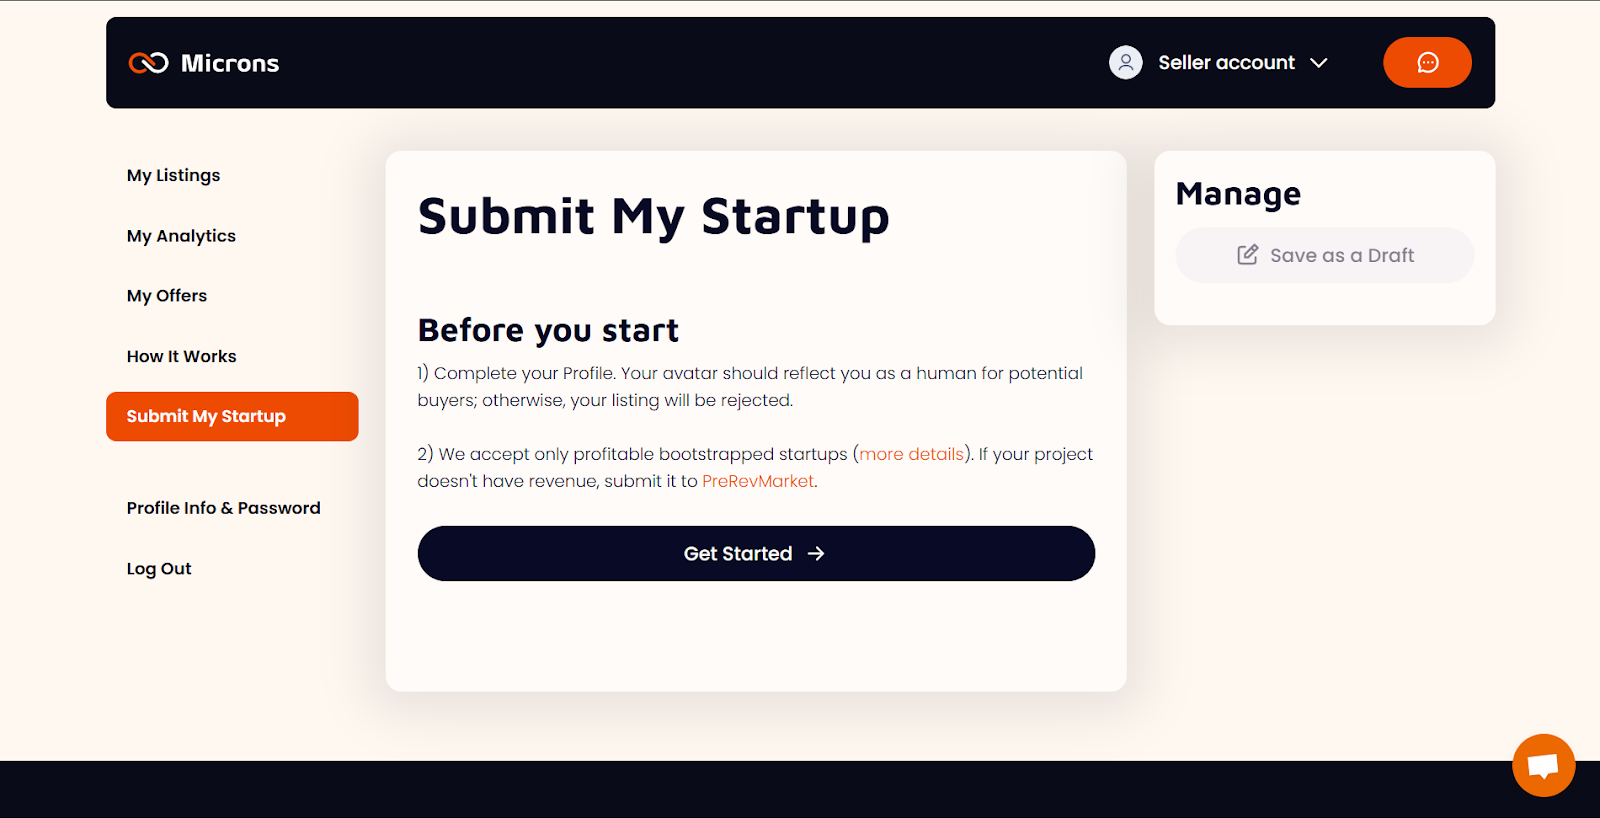
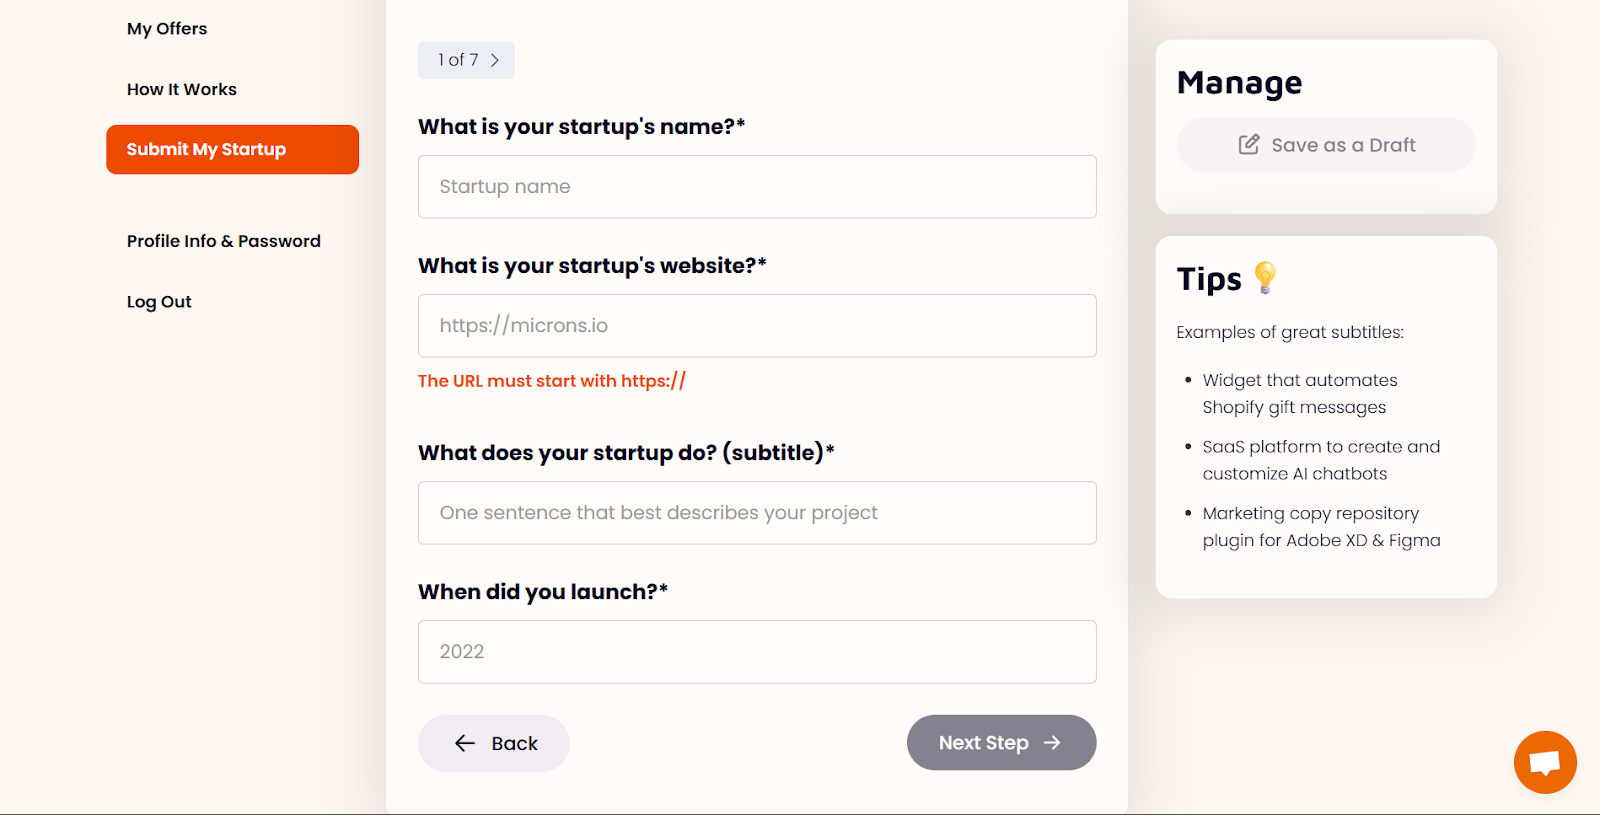
Afterwards, click the ‘Get Started’ button to begin filling out the form with the details of the business you’re putting up for sale. The “What does your startup do?” question requires a one-sentence answer. You’ll have the opportunity to describe your business in more detail in subsequent sections.
NOTE: Not all submissions will be accepted. For example, we only accept projects with revenue. You can find out more here.
Step 4: Describe your business
In this next step, you’ll be required to fill out intricate details about your business. Please, provide verifiable information as we do background checks to ascertain the accuracy of your claims.
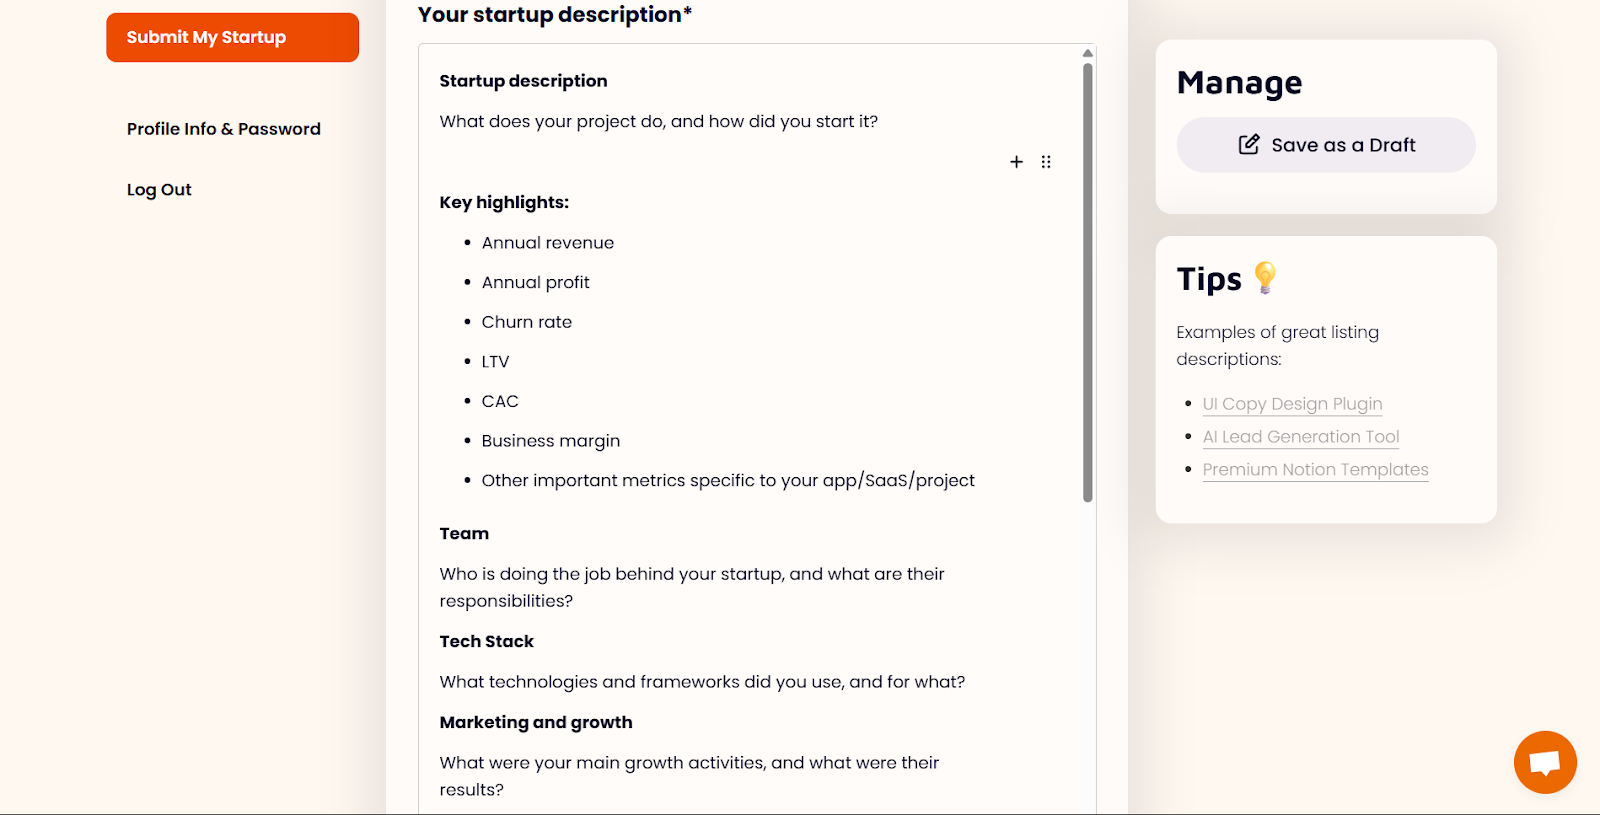
NOTE: This section is more detailed than the previous “What does your startup do?” section, where you were expected to describe your business in one sentence.
The Startup description lets you give details about your business, the product(s) you sell, problems your business solves, and who it serves. We advise you to follow the template provided, as it’s been designed to help you create a properly structured, winning listing.
Don’t provide AI-generated responses due to their inaccuracy. We’ve learned that describing your business in your own words tends to perform better in converting potential buyers as it creates a sense of connection and trust between you and potential buyers.
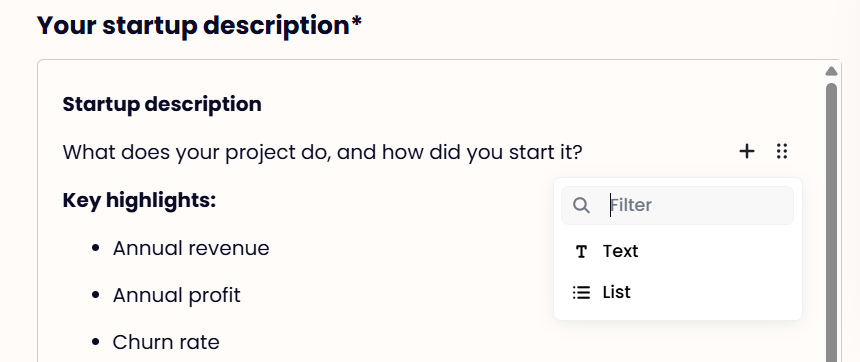
To fill out the form, hover over each section to find the plus sign. Then select Text or List for a text or list field, respectively, to input your details. We’ve provided this markdown option so listings look more professional.
Input details about your team, even if they’re influencers. Also, highlight your marketing channels and transferable assets. More importantly, highlight the risks of buying your business and how to mitigate them.
Here are some examples of great listing descriptions to guide you. To view them, switch from a seller account to a buyer account in the left corner of the top bar.
- AI-Powered Platform to Generate VBA Code
- Digital Signature Software
- Fax Sending Platform
- Online Knives Store
Step 5: Competitor landscape
Here, highlight your business model and payment plan. Do you operate a freemium, subscription, or affiliate model? If you’re an e-commerce business, do you run a dropshipping or direct-to-consumer business model? Another revenue model you could be using is selling ad sponsorships in your newsletter. Whatever your business models are, list them here.
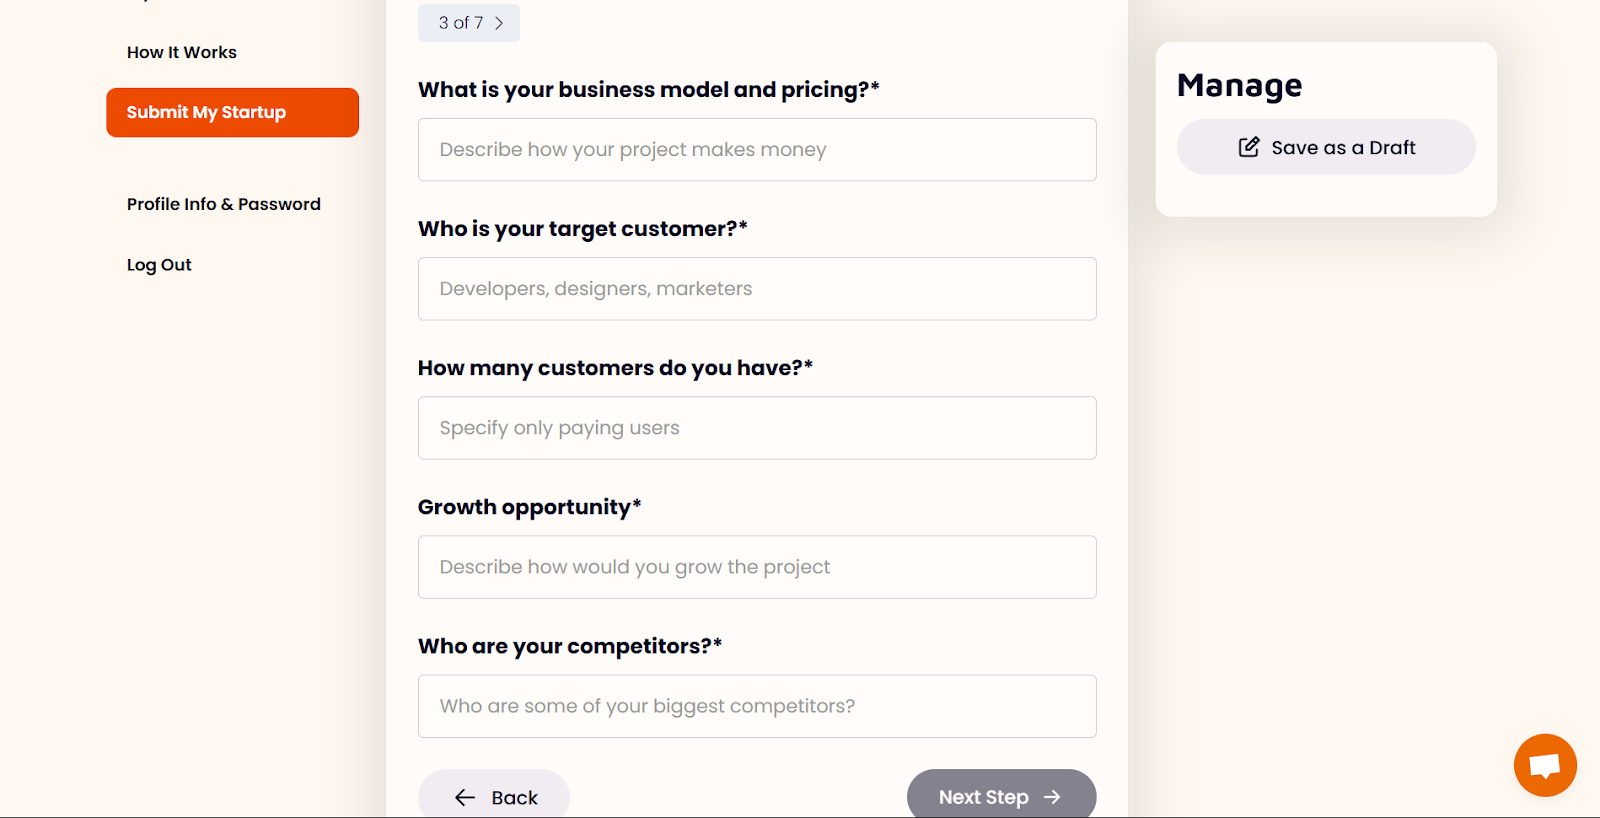
Then list who your products are designed for and the number of paying customers you have. If you’re listing your newsletter, input the number of subscribers on your email list. Keep in mind that this should also be the number of paying subscribers. Feel free to mention the number of free users in the description field.
Also, you’ll be required to list some competitors and potential high-impact ways the buyer can expand the business. Giving them some ideas, such as advertising or content marketing, will improve your chances of selling your business faster.
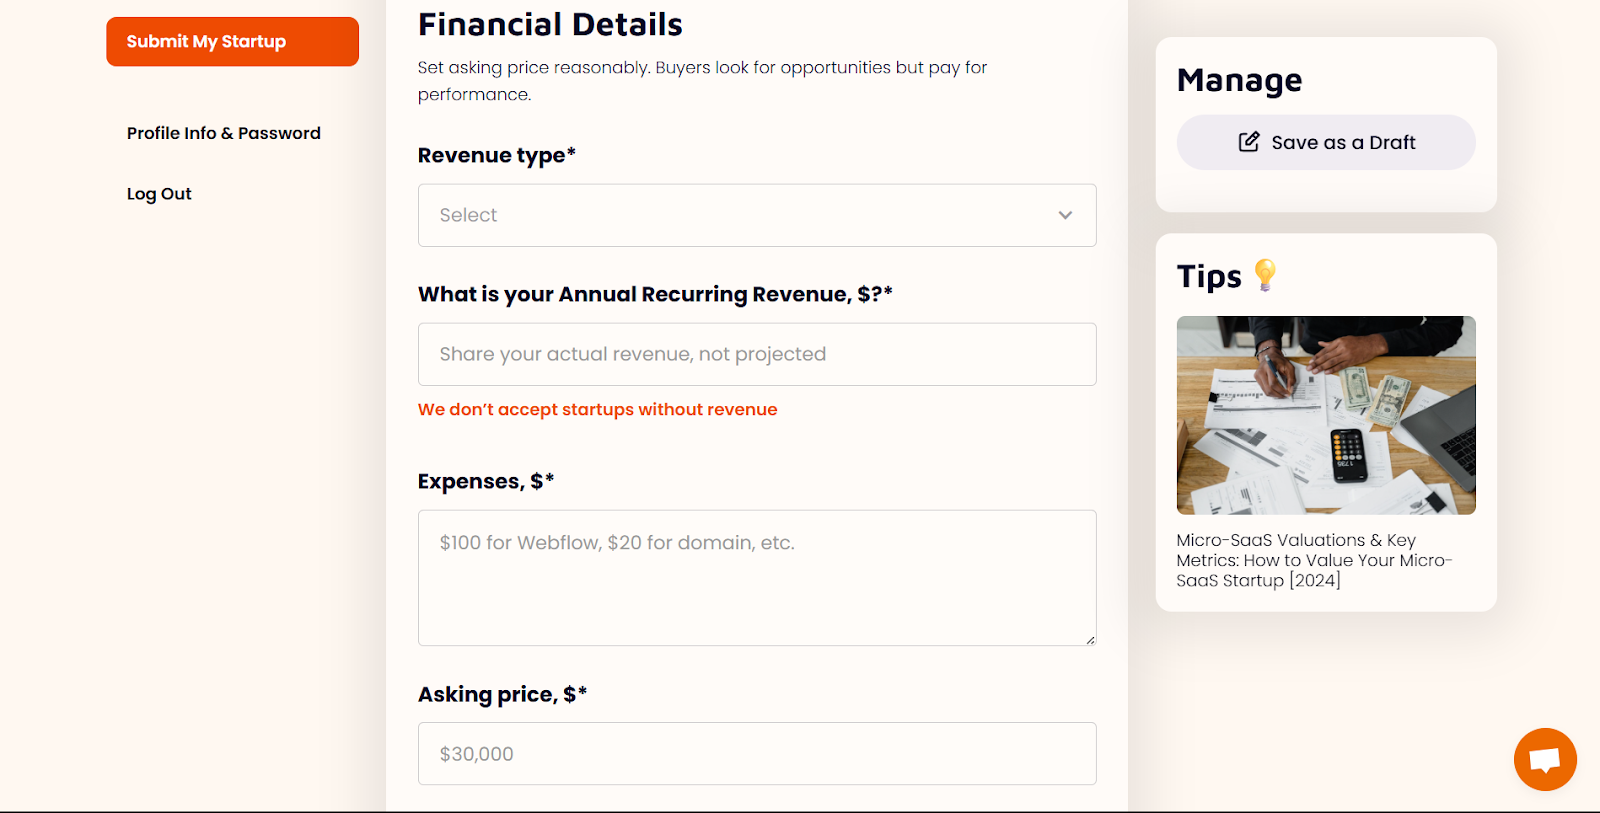
Step 6: Input your financial details
In the previous section, you listed your business and pricing models. Now it’s time to tell potential buyers your revenue model: whether it’s a monthly subscription or a one-time payment. You’ll be required to input your annual recurring revenue, expenses and asking price, all in USD. If your revenue is in other currencies like euros or pounds, etc., convert it to USD, including your asking price.
NOTE: We don’t accept revenue projections. And if your startup is less than 1 year old, please provide its lifetime revenue.
Step 7: Upload proofs
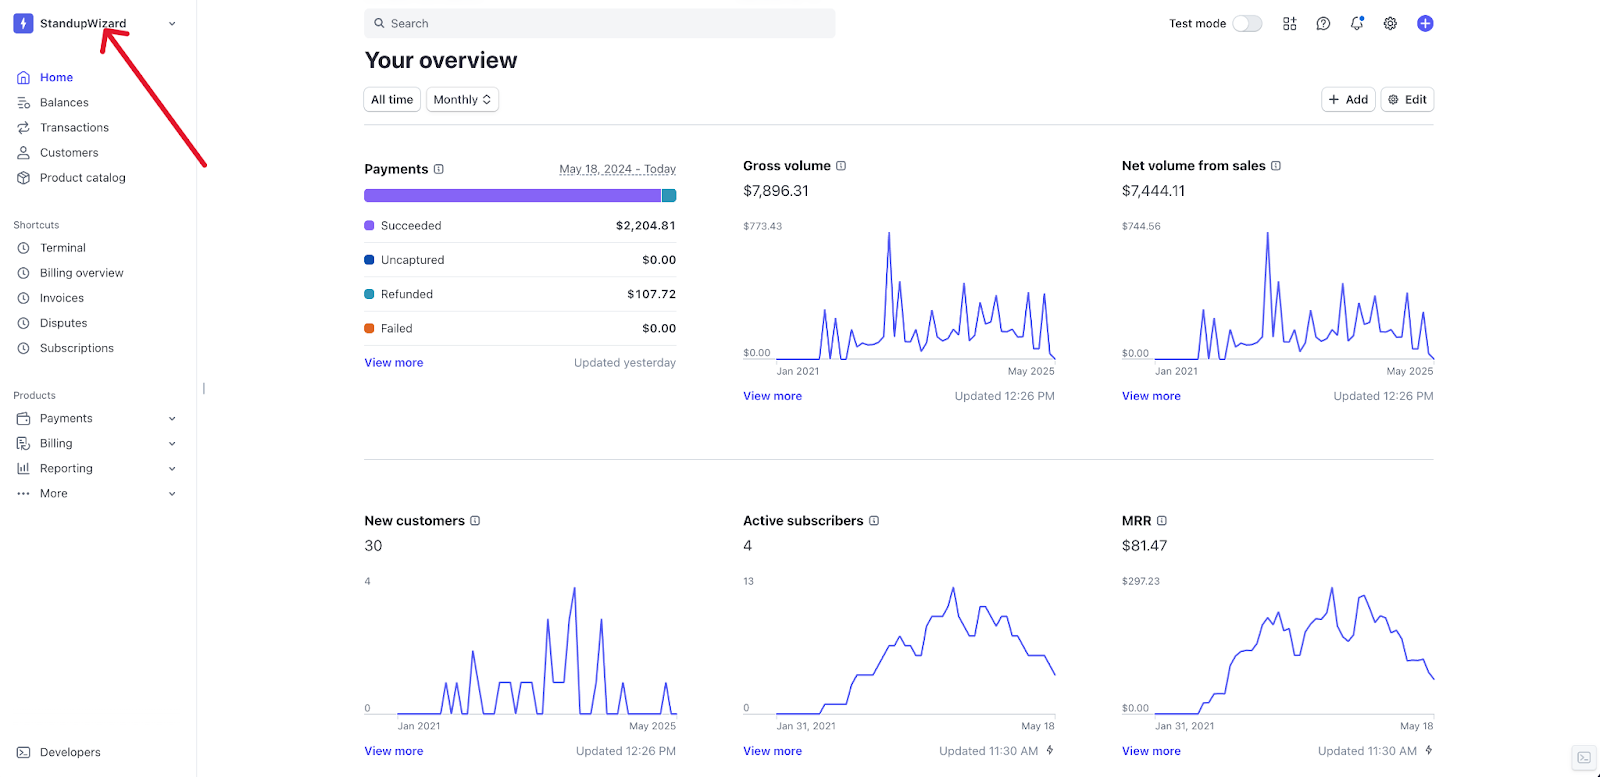
Provide verifiable proof of earnings from your Stripe account or any other payment gateway you use. The screenshot should contain your startup’s name, last year’s or TTM revenue, and match the revenue written in the ARR field. Ensuring all these are visible will reduce the back and forth between you and our admin.
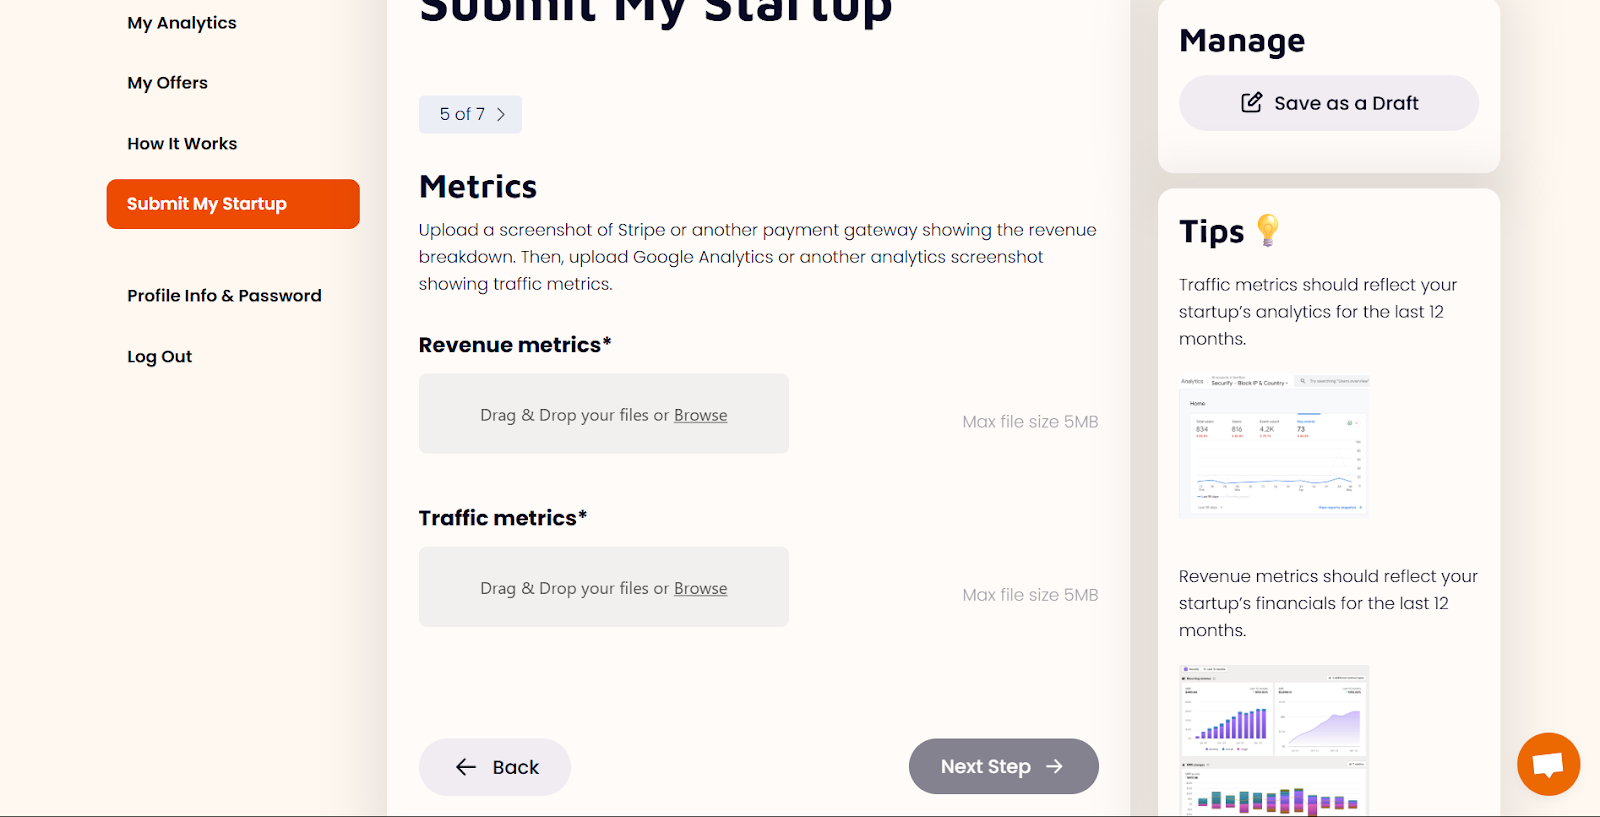
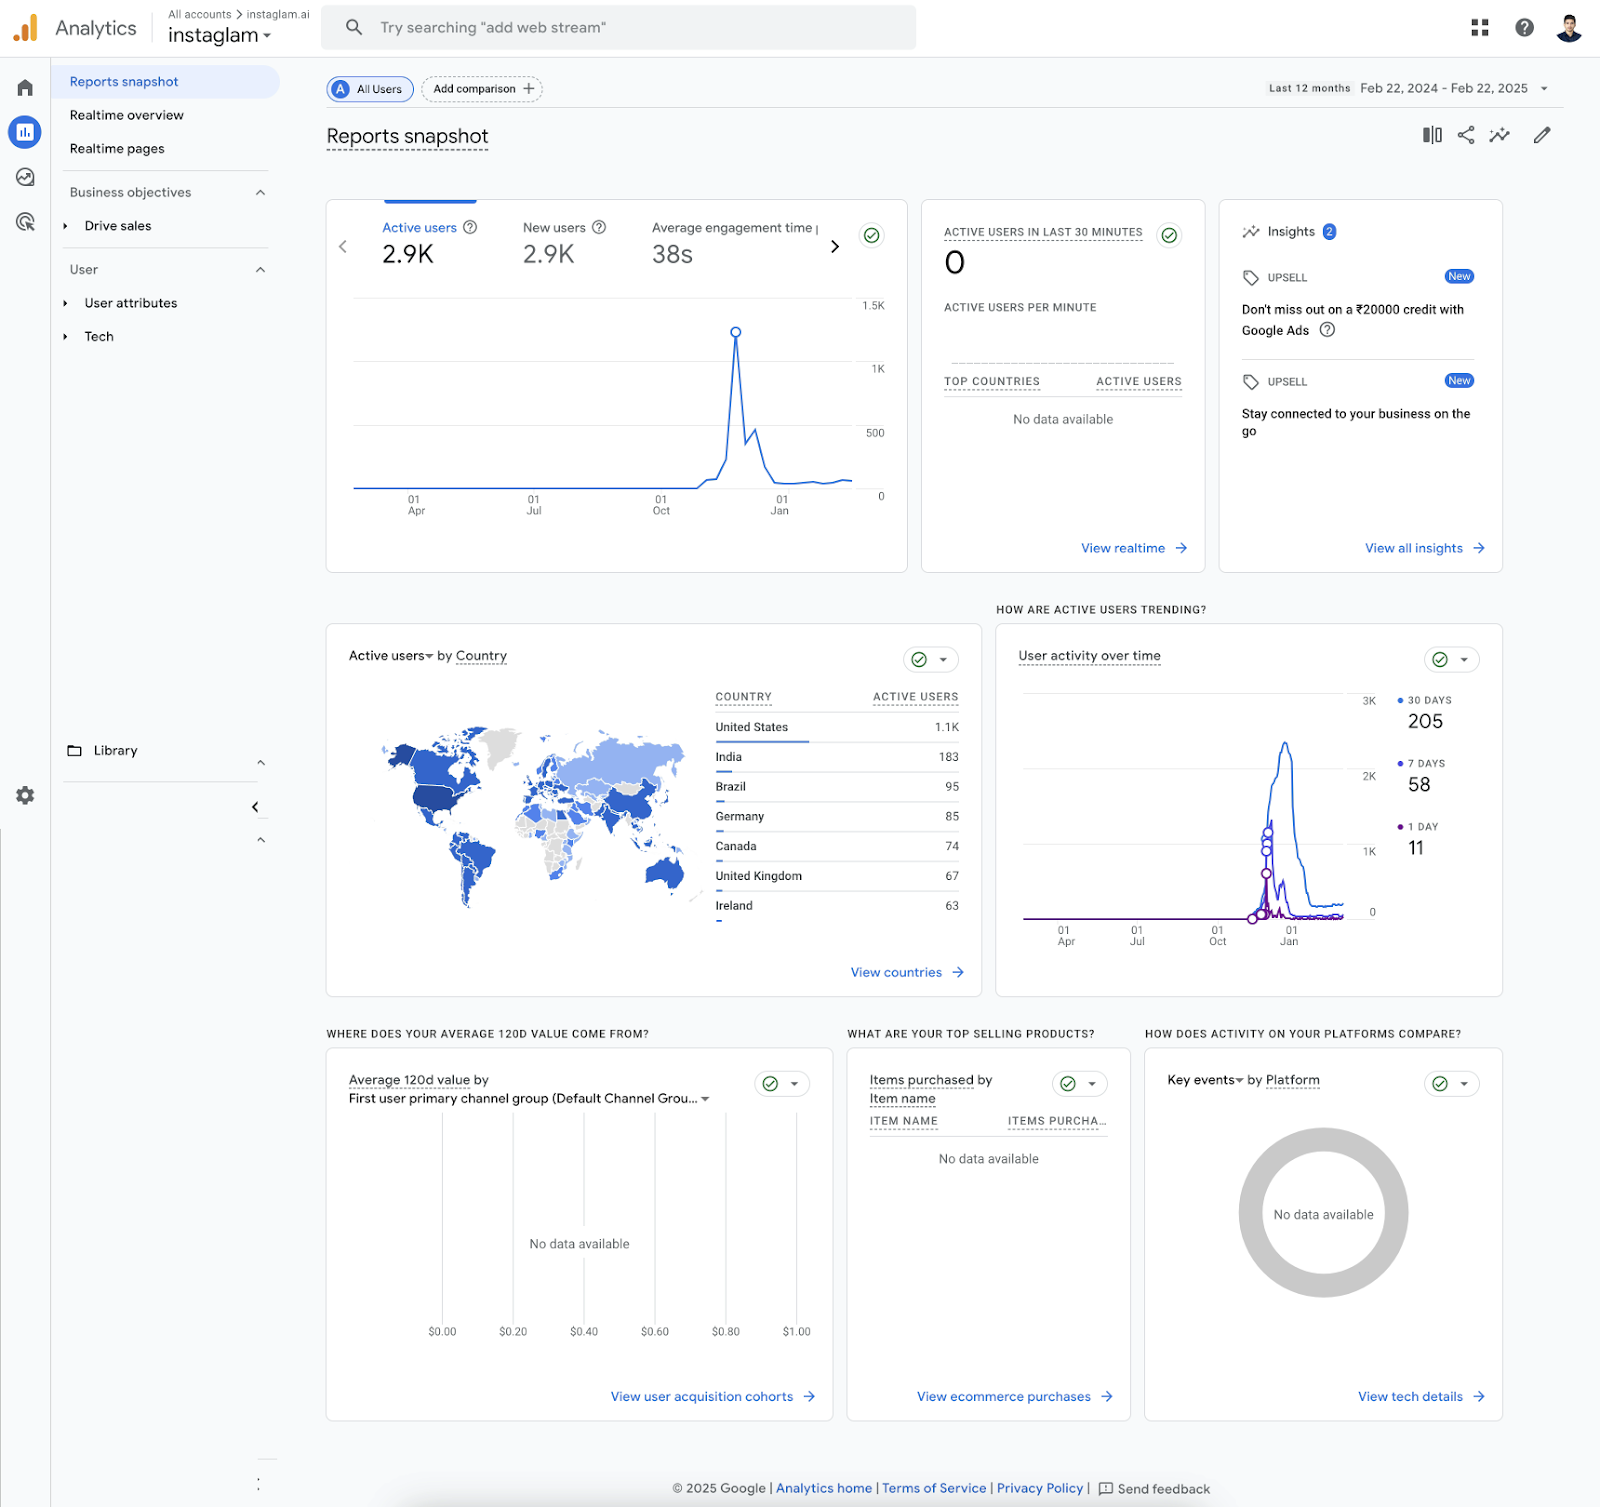
Also, upload pictures of your traffic data using Google Analytics or any other web traffic analytics tool you use. Here are a few samples of acceptable screenshots.
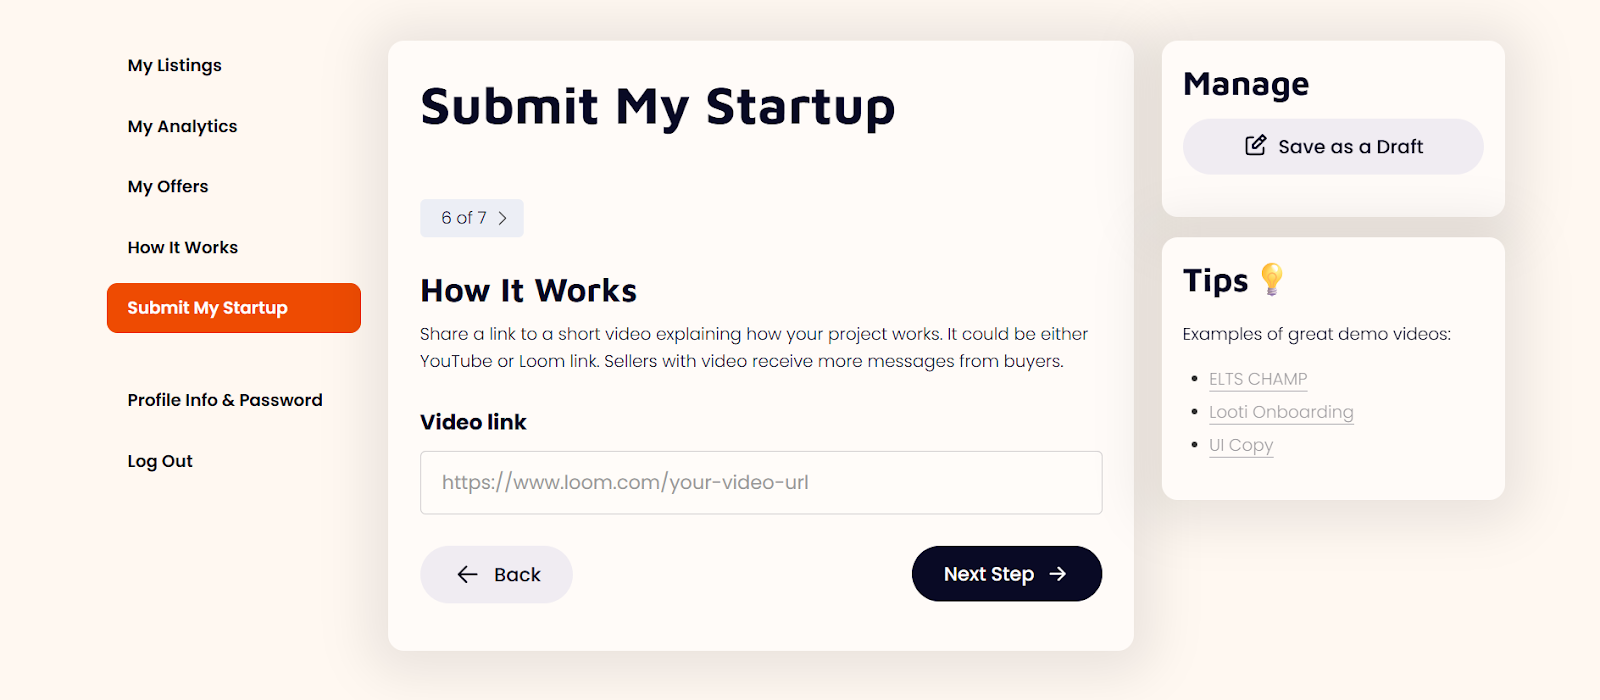
Step 8: Add some personality
Now is the time to put a face to the startup and show potential buyers why they should buy your project. You can record either a YouTube or Loom video, explaining your motivation for starting the project, what problem it solves, how it works, the unique selling point, and why you’re selling, etc. Typically, give a demo of the project. Don’t just shoot a video, tell a story. You can then personalize the content by telling potential buyers to contact you on Microns.
This is your opportunity to talk about what you didn’t cover in previous sections, interactively show the project, show proof of your metrics, and just highlight anything that’ll be of interest to the buyer.
Here are some great videos to give you some ideas:
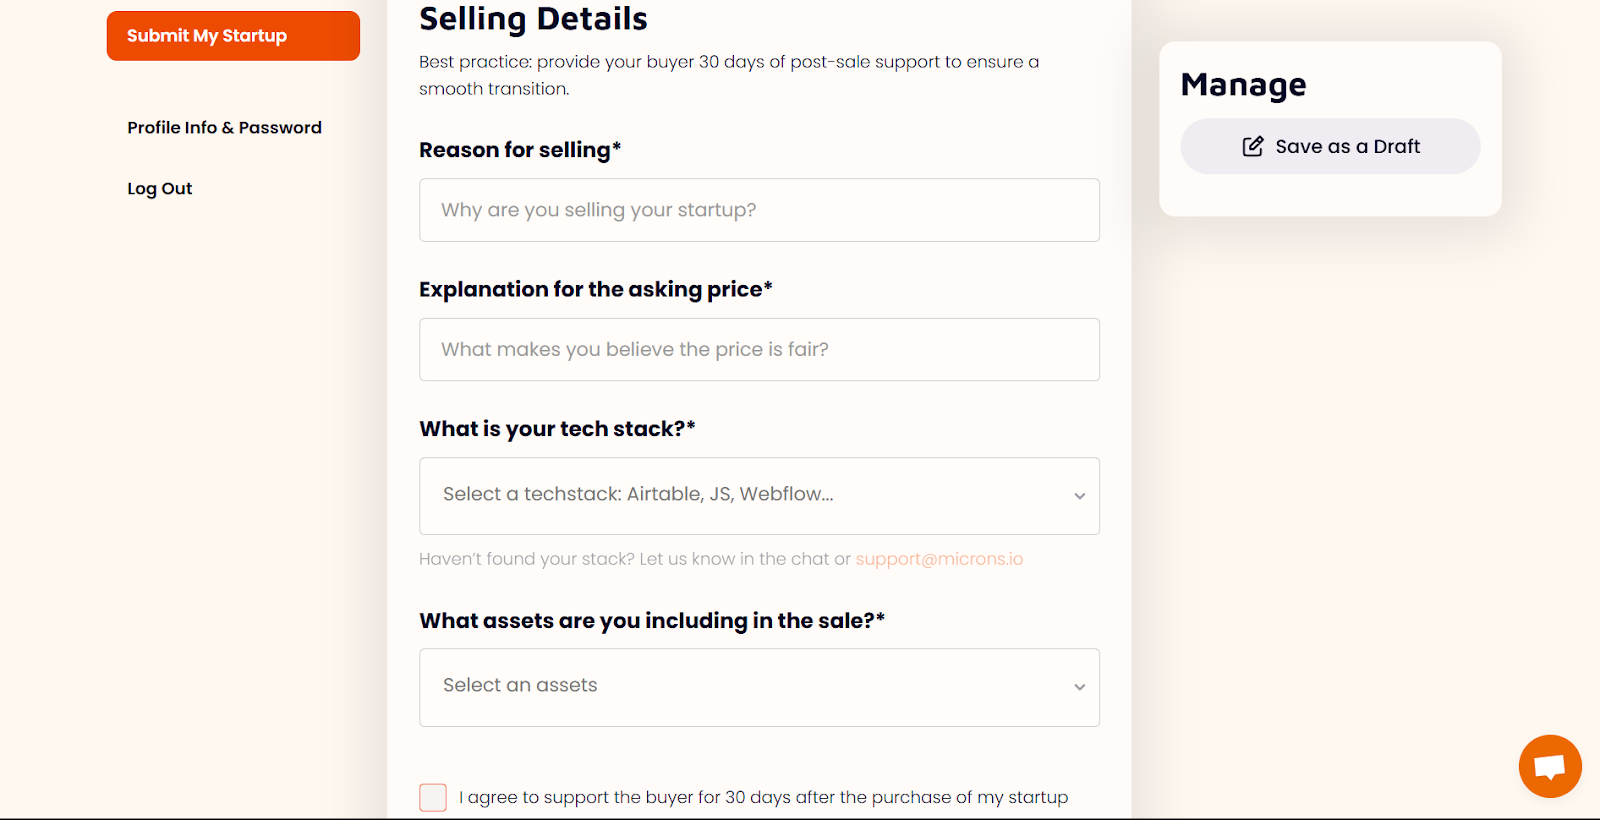
Step 9: Selling details
Here’s where you’ll input your reasons for selling your online business. You’ll be required to explain your reasons for choosing your set valuation. Also, list all transferable assets such as email list and whatnot as well as the tech stack you’re using. All these will be included in the offer and agreement when you begin negotiations with your potential buyer.
And that is it. You’ve just listed your first business on the Microns.io marketplace. We’ll review your listing within 1-2 business days and notify you if your business has been listed on the marketplace or not. If not, we’ll provide a reason for you to fix so you can resubmit your listing.
Module 3:Preparing your project for sale
With a clear understanding of how to value your app, here are the steps to ensure you’re ready to exit your app.
Clarify your objectives
Before you begin any sale preparation work, spend time figuring out what deal structure you’ll be open to. Do you want an all-cash buyout or are you open to a structured earn-out package? We encourage sellers to offer a free 1-month post-sale support; however, some clients may want to retain you in a paid role after that. Will you be available to consult for the business? Your answers here will guide everything from valuation discussions to the kind of offers you accept.
Strengthen your finances
Buyers will zero in on your financial statements, so the cleaner and more transparent they are, the easier the deal will proceed. Your financial statements should tell a clear story of steady growth and predictable cash flows. Reconcile every bank and credit‑card statement, and produce profit‑and‑loss statements, balance sheets, and cash‑flow reports. If you can, also build a realistic 12 to 24‑month forecast that accounts for seasonality and your current sales pipeline.
Optimize your app’s performance and user experience
Spend some time identifying and fixing bugs, improving loading times, and ensuring all features work as intended. Nothing will deter buyers as much as software that crashes frequently.
If it’s a mobile app, ensure it’s compatible with the latest devices and operating systems. Tools like Google Analytics and Flurry Analytics can help you analyze your app’s performance.
Polish your operational playbook
If you haven’t already done so, start making arrangements for your business to be able to run without you. Begin by creating your standard operating procedure (SOP) in enough detail that your future buyer could step in and hit the ground running.
Describe how you handle lead generation, outline your product development approach, and chart your customer‑support workflow. Prospective buyers pay a premium for businesses that can be easily run without the founder overseeing every detail.
Prepare solid documentation and presentation
As you prepare to sell your app, creating comprehensive documentation and an engaging presentation cannot be overlooked. This is your opportunity to showcase not just what your app does, but why it’s a smart investment for potential buyers.
Next up is your pitch deck; don’t only talk about your app’s features and positioning, but also highlight its target audience. Include testimonials to add some credibility and show its impact.
Legal considerations
When it comes to selling your app, navigating the legal side is just as important as preparing the app itself. The last thing a buyer wants is a lawsuit waiting in the wings. First, confirm that your business is optimized for sale and tax efficiency. After that, the two other critical areas are intellectual property rights and user data privacy compliance. We’ve covered the legal logistics in more detail in the final module.
Intellectual property rights
Intellectual property (IP) rights are your first line of defence in protecting your app. They safeguard your unique ideas, designs, and code from unauthorized use. Before putting your app on the market, double-check that you own everything. If you’ve used third-party assets, ensure you have the appropriate licenses or permissions.
Buyers will want assurance that they’re investing in something secure and free from legal complications.
User data privacy compliance
Compliance with regulations like GDPR (General Data Protection Regulation) is essential if your app collects personal information.
Ensure you outline how you manage user data and always obtain user consent before collecting information. Plus, you’ll need to allow users to access or delete their data upon request.